Docker
Prepared by Guido
Here I give few elements about dockers.
I have a Mac laptop and I often need a UNIX system to test my workflow (UNIX oriented). Most of time I connect to lxplus or my UBUNTU box, but for some fast test is convenient to run locally.
One way to achieve is using Docker.
Dockers can be useful for cpython bindings like cpymad that are not so simple to be installed directly on Mac.
In addition, it is a practical way to use some precooked installation from https://hub.docker.com and customize them at your needs. I also use it for JUAS and CAS, to share with the younger colleagues a predefined environment.
Simple example
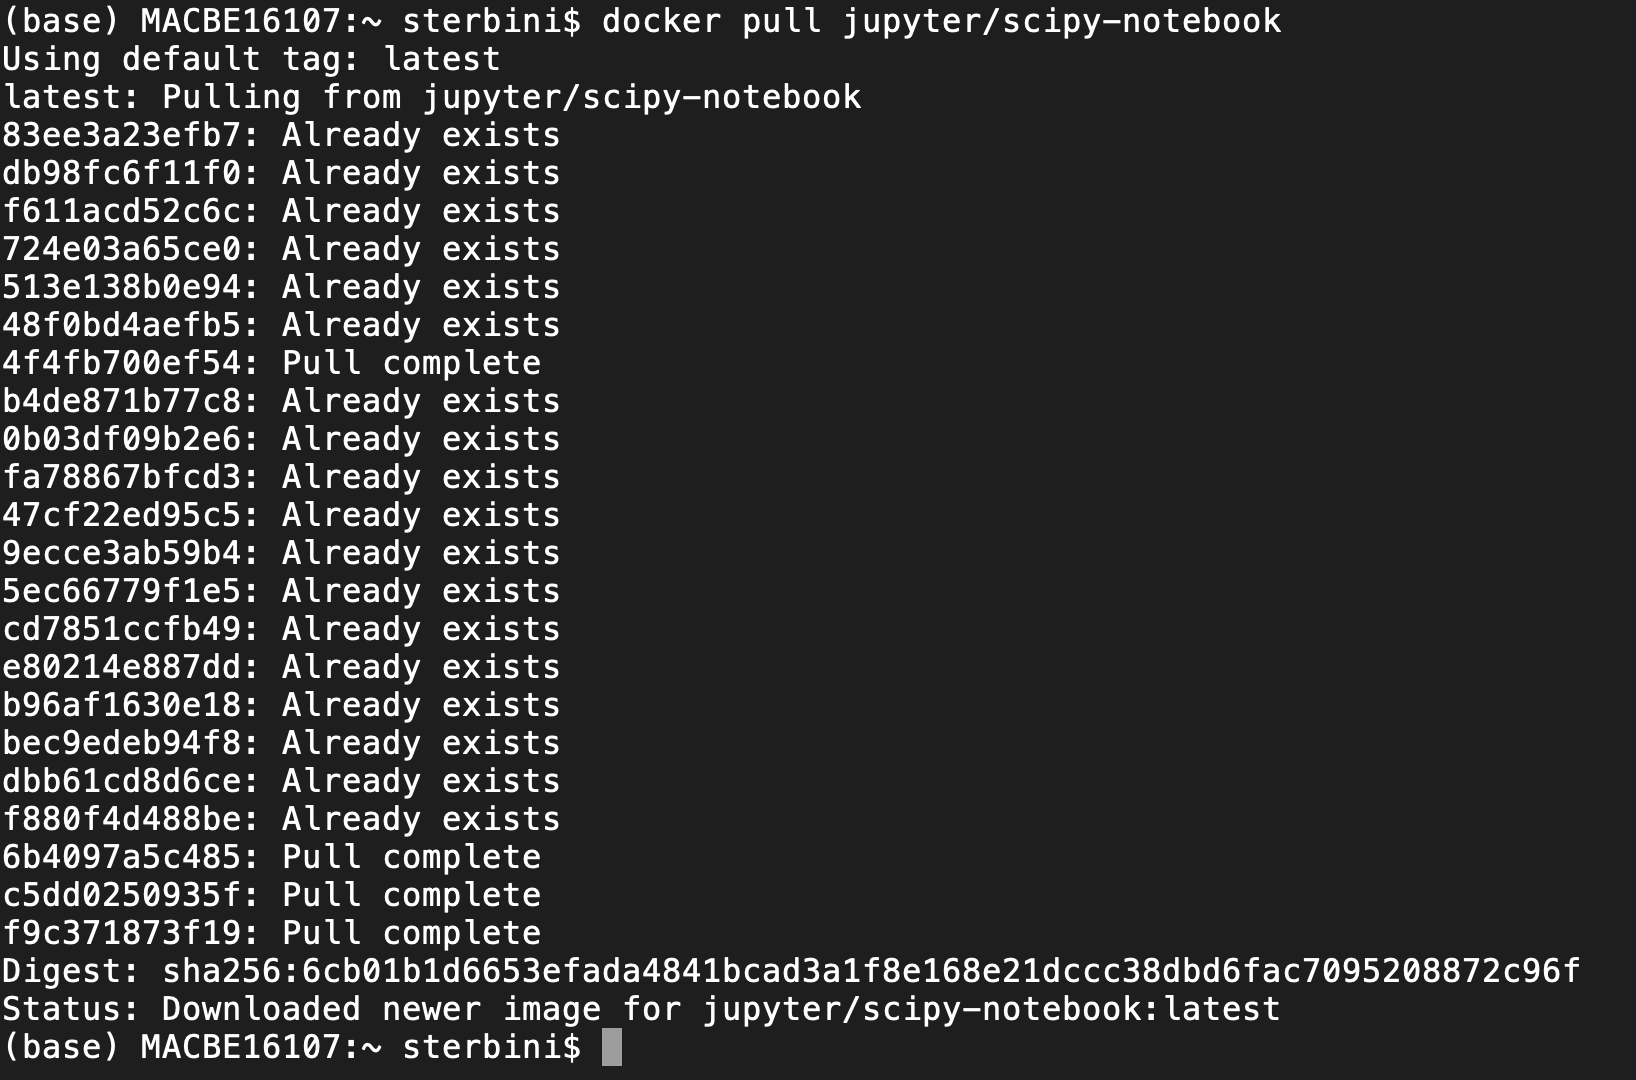
After having installed the Docker Desktop - that is your docker manager, you can download the last jupyter/scipy environment from https://hub.docker.com/r/jupyter/scipy-notebook just with the command
docker pull jupyter/scipy-notebook

NB: docker commands recall the git syntax.
There are several jupyter docker images available (https://hub.docker.com/u/jupyter).
The first time you do that, it downloads the docker image locally. A docker image can be bulky (in this case ~1 GB) but you need to do that only once.
Then, you can run the docker with
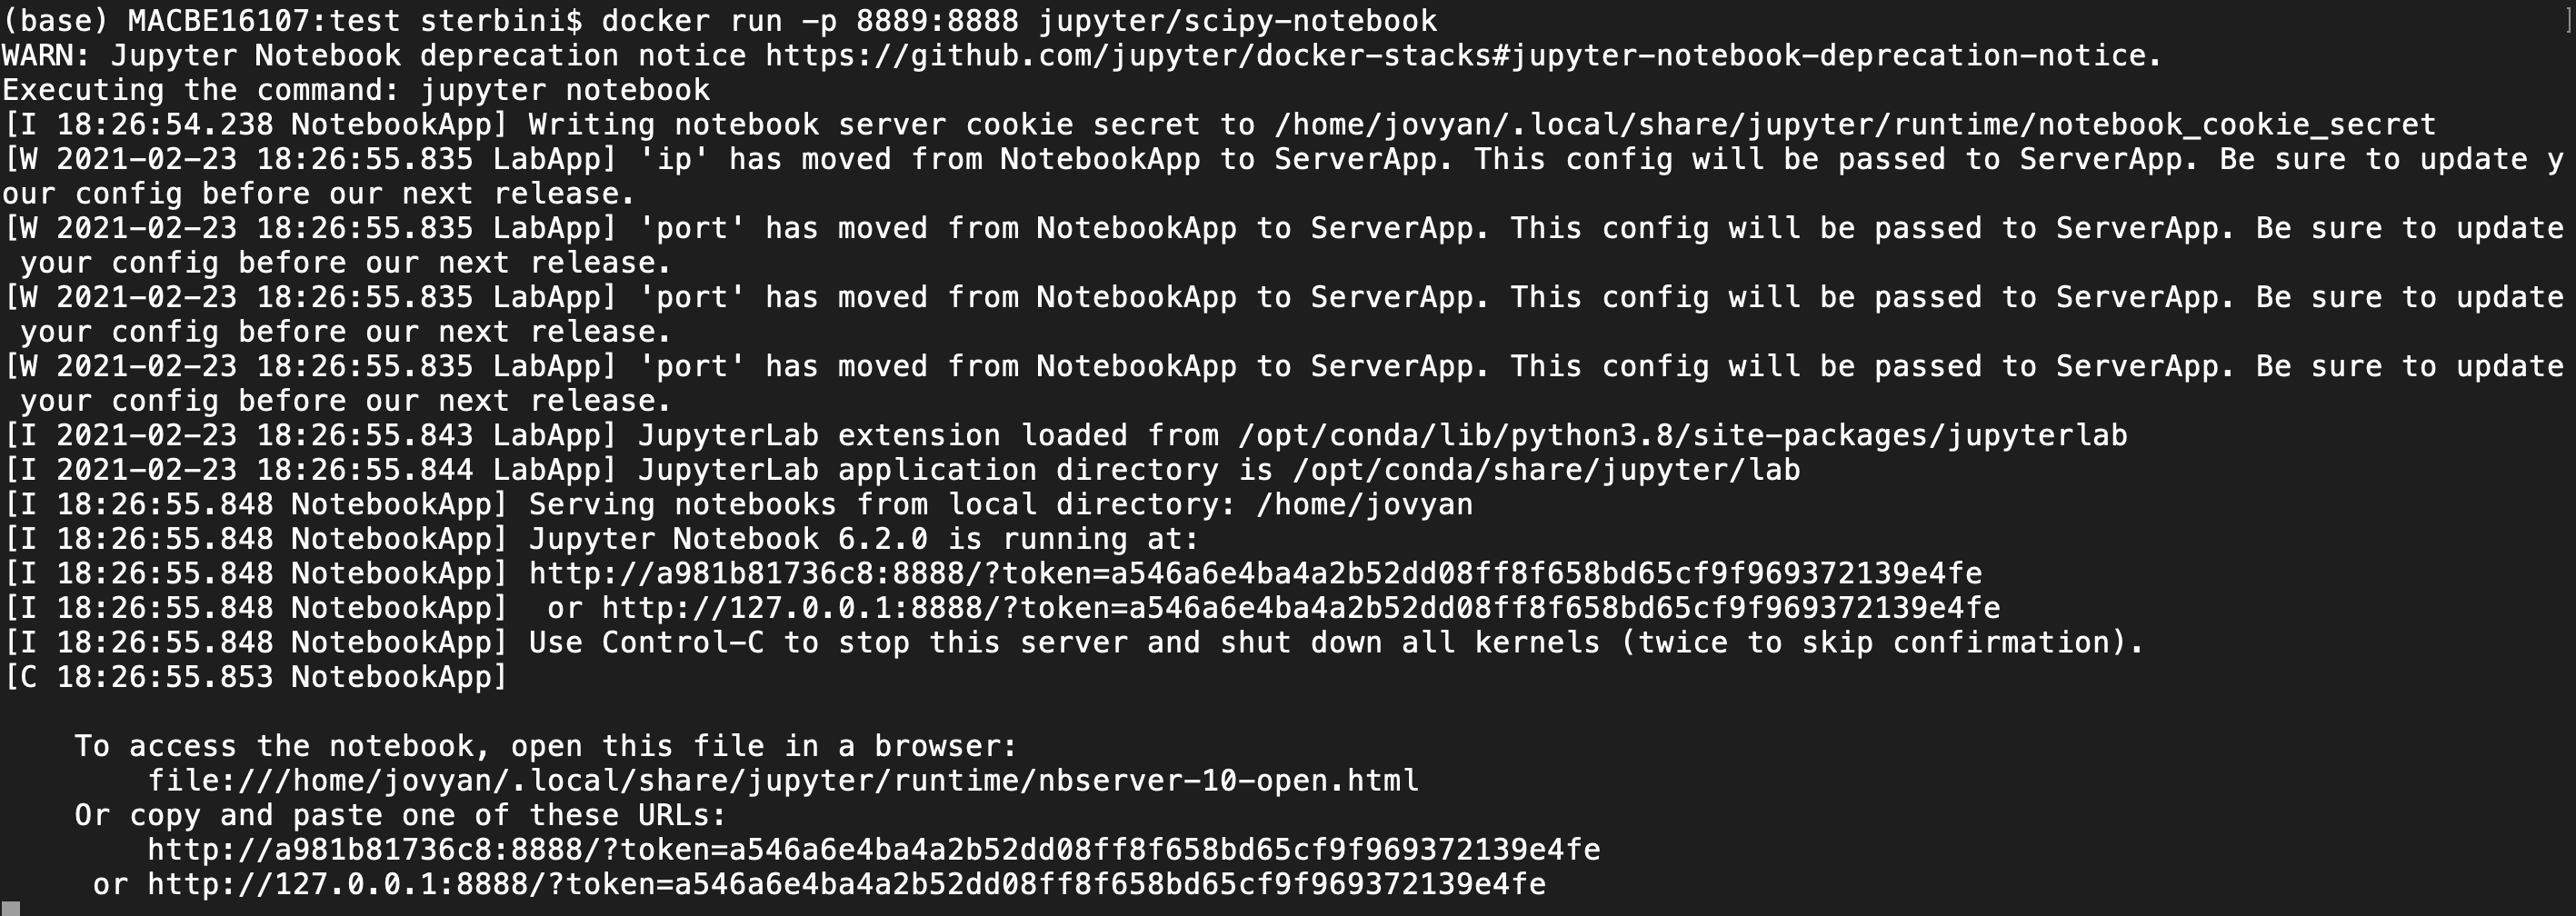
docker run -p 8889:8888 jupyter/scipy-notebook

This command will map the jupyter server to your localhost on port 8889. You can access it via the browser. Pay attention to select the correct port and token. In the last line of the terminal you have the standard port 8888 but, in the browser, you need to give the port mapping of port 8888 (8889 in this case). For this example you need to copy/edit/paste on the browser the address
http://127.0.0.1:8889/token=a546a6e4ba4a2b52dd08ff8f658bd65cf9f969372139e4fe
docker run --rm -p 10000:8888 -e JUPYTER_ENABLE_LAB=yes -v "$PWD":/home/jovyan/work jupyter/scipy-notebook
/home/jovyan/work to the current path (jovyan is the default user of Jupyter) and we launch jupyterlab instead of jupyter.
The folder mapping allow you to see/use/handle your terminal pwd.
Docker customisation
Let us assume that now we want to customise the image and install cpymad and pyHeadTail.
For that we have to prepare and input file using docker syntax (I will not explain it in the details but I think is quite self explanatory and easy to google, e.g. https://docs.docker.com/develop/develop-images/dockerfile_best-practices/).
# reference: https://hub.docker.com/_/ubuntu/
FROM jupyter/scipy-notebook

# Adds metadata to the image as a key value pair example LABEL version="1.0"
LABEL maintainer="Guido Sterbini <guido.sterbini@cern.ch>"

# create empty directory to attach volume
USER root
RUN sudo echo "Europe/Rome" > /etc/timezone && \
    sudo dpkg-reconfigure -f noninteractive tzdata
RUN useradd -ms /bin/bash abpuser
RUN apt-get update && apt-get install -y vim
USER jovyan
###########
RUN pip install cpymad
RUN pip install PyHEADTAIL
###########
USER abpuser
WORKDIR /home/abpuser
RUN mkdir abp
ENV HOME=/abp
VOLUME /abp
WORKDIR /abp

# Configure access to Jupyter
CMD jupyter lab --no-browser --ip=0.0.0.0 --allow-root
Dockerfile on your current folder then build it with
docker build . -t sterbini/abp_docker
And finally you can run it with
docker run -p 8889:8888 -v "$PWD":/abp sterbini/abp_docker

You can upload your image to DockerHub to share it with the community. Like for Gitlab, you need to be registered.
After registration on DockerHub, go to your terminal and do
docker login
Then push your image on DockerHub by
docker push sterbini/abp_docker
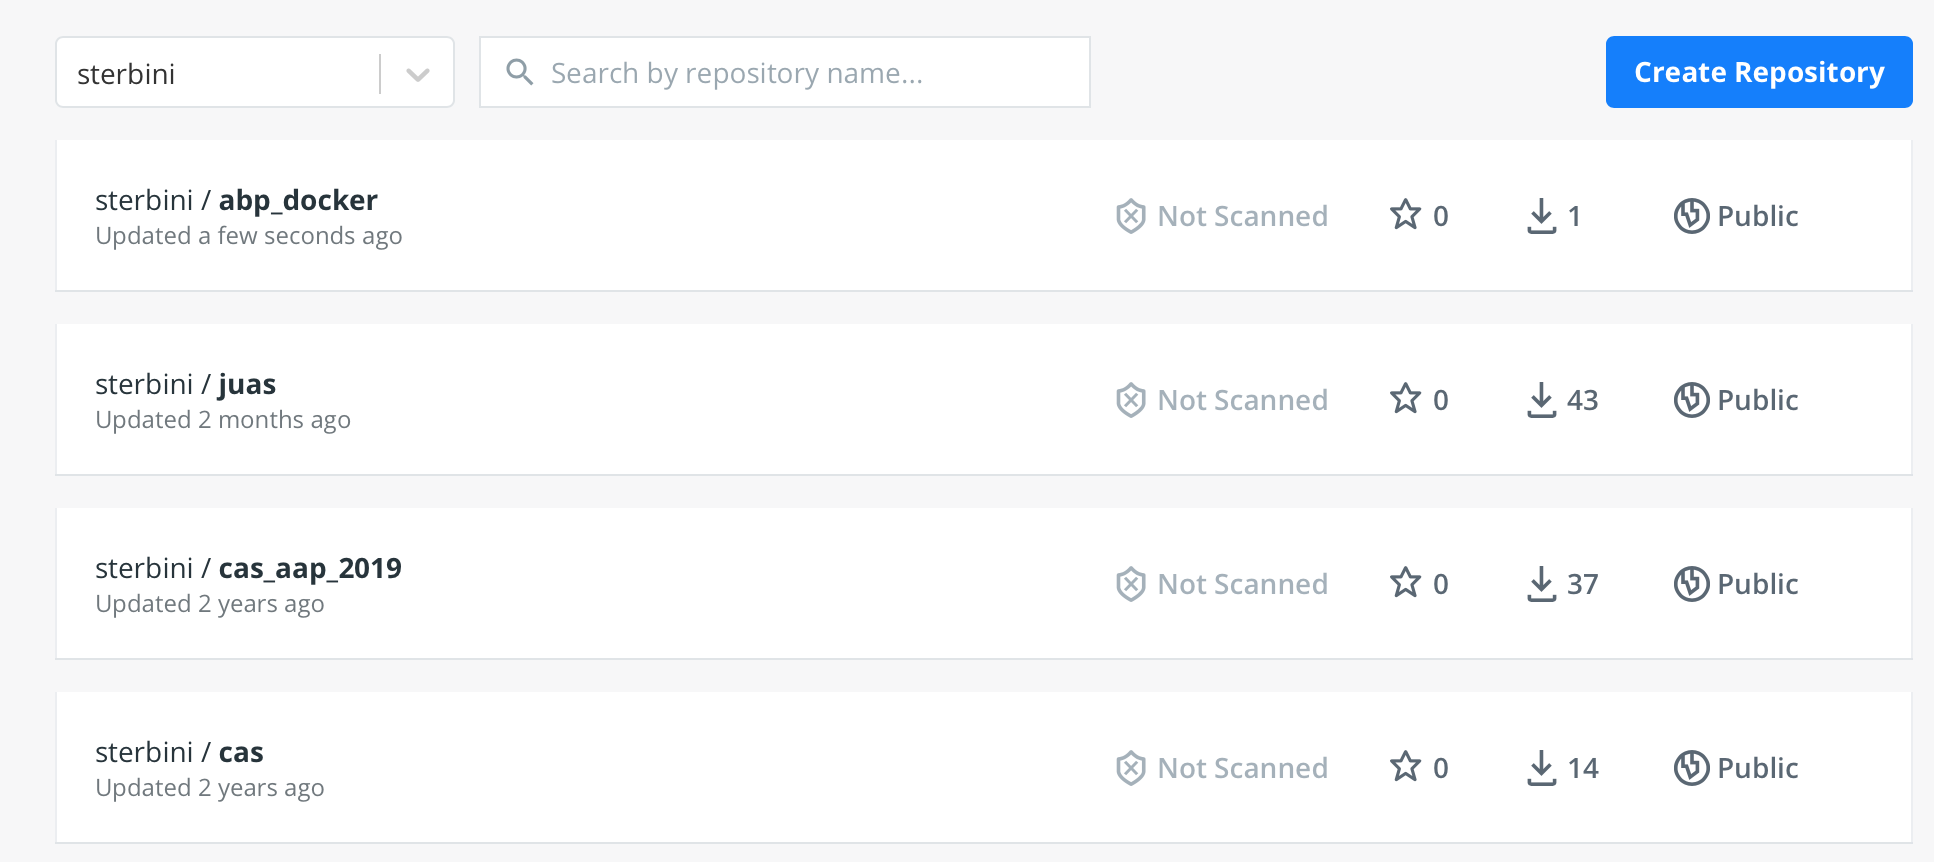
So you will see it on your personal DockerHub page.

Now everyone can download it from DockerHub with the commands we already discussed before:
docker pull sterbini/abp_docker
docker run -p 8889:8888 -v "$PWD":/abp sterbini/abp_docker
docker --help
docker functionalities (e.g., listing and removing the images on your pc).
That's it folks.
Docker registries
There are two docker registries:
-- registry.cern.ch
-- gitlab-registry.cern.ch
A article of differences can be found here: https://shipyard.build/blog/container-registries/.
Some documentation for Gitlab registry can be found here: -- https://gitlab.docs.cern.ch/docs/Build%20your%20application/Packages%20&%20Registries/using-gitlab-container-registry -- https://gitlab.cern.ch/gitlabci-examples/build_docker_image/ -- https://gitlab.cern.ch/help/ci/jobs/ci_job_token.md